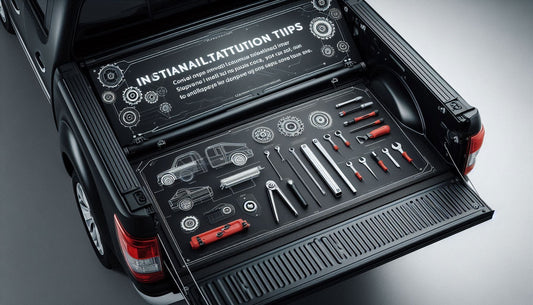
Introduction to Installation
Installing a manual retractable tonneau cover can enhance the functionality and appearance of your vehicle. This guide provides a general overview of the installation process, helping you navigate through the key steps involved.
Key Steps for Installation
To ensure a successful installation, follow these general steps:
-
Prepare the Vehicle: Clear the truck bed of any debris or obstructions to ensure a smooth installation process.
-
Remove Lock Protectors: Before assembling the rails to the canister, remove any lock protectors. These are added for shipping protection but can interfere with proper operation if not removed.
-
Measure and Mark Mounting Points: Measure and mark the top of the factory track for mounting block locations to ensure accurate placement.
-
Assemble and Position Mounting Blocks: Assemble the mounting blocks according to your cover's specifications and position them on the marked locations.
-
Lift and Align the Cover: Lift the assembled cover into the bed and position the rails, ensuring proper alignment with the mounting blocks.
-
Install Front and Rear Clamps: Install the front and rear clamps, adjusting as necessary for an optimal fit.
-
Install Drain Tubes: Remove protective film and install drain tubes to prevent water accumulation.
-
Final Adjustments: Perform any final adjustments to ensure the cover operates smoothly and securely.
Conclusion
By following these steps and consulting your specific model's installation guide or video, you can achieve a successful installation of your manual retractable tonneau cover. If you encounter any issues or have questions, don't hesitate to reach out to our support team for assistance.